
Calibrating the stepper motors of a 3D printer is a crucial step to ensure accurate and high-quality prints. Proper calibration ensures that your printer moves the print head and the print bed precisely, avoiding issues like layer shifting, inaccurate dimensions, and uneven prints. This guide will walk you through the process of calibrating your 3D printer stepper motors step-by-step.
Step 1: Understanding the Basics
Before you start calibrating, it’s essential to understand what you are working with:
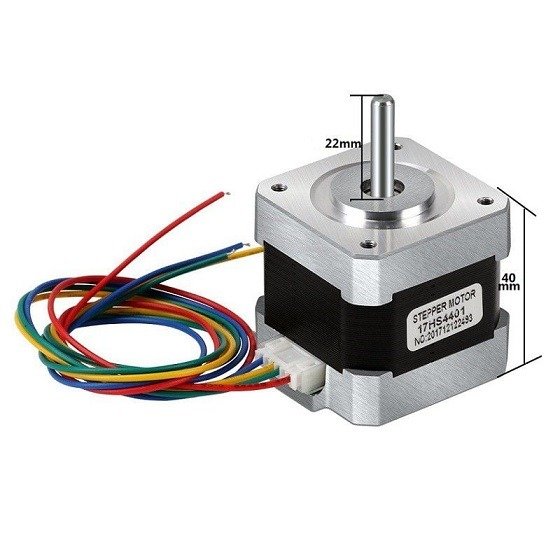
- Stepper Motors: These motors move the print head (X and Y axes) and the print bed (Z axis) precisely by converting electrical pulses into discrete mechanical movements.
- Steps per Millimeter (Steps/mm): This value indicates how many steps the motor must take to move the axis by one millimeter. Calibration involves ensuring this value is accurate.
Step 2: Gather the Necessary Tools
To calibrate your stepper motors, you’ll need:
- A digital caliper or a precise ruler
- A calculator
- Access to your 3D printer’s firmware settings (via software like Marlin, Repetier, or your printer’s control panel)
Step 3: Measure the Current Steps/mm
- Move the Axis: Start by moving the axis you want to calibrate (X, Y, or Z) a known distance using your printer’s control panel or connected software. For instance, move the X-axis 100 mm.
- Measure the Actual Movement: Use a digital caliper or a ruler to measure the actual distance the axis moved. Note the measured value.
Step 4: Calculate the New Steps/mm
- Determine the Difference: Subtract the actual movement from the intended movement to determine the error.
- Calculate the New Steps/mm: Use the following formula to calculate the new steps/mm value:New Steps/mm=(Current Steps/mm×Intended Movement)/Actual MovementNew Steps/mm=(Current Steps/mm×Intended Movement)/Actual MovementFor example, if your current steps/mm is 80, the intended movement was 100 mm, and the actual movement was 95 mm:New Steps/mm=(80×100)/95≈84.21New Steps/mm=(80×100)/95≈84.21
Step 5: Update the Firmware
- Access Firmware Settings: Open your 3D printer’s firmware settings. This can be done via your printer’s control panel or through software like Repetier-Host, OctoPrint, or the firmware configuration files.
- Update Steps/mm: Enter the new steps/mm values for the corresponding axis. In Marlin firmware, for instance, this can be done by updating the
DEFAULT_AXIS_STEPS_PER_UNITline in the configuration file or sending an M92 command via G-code:M92X84.21M92X84.21 - Save Settings: Ensure the new settings are saved to the printer’s EEPROM by sending the M500 command via G-code or using the save option in your printer’s firmware interface.
Step 6: Test the Calibration
- Recheck Movement: Repeat the movement test to ensure the axis now moves the correct distance.
- Fine-Tuning: If the measurements are still off, repeat the calibration process until the movements are accurate.
Step 7: Calibrate All Axes
Repeat the above steps for the Y-axis and Z-axis to ensure all axes are accurately calibrated. Each axis may require a different steps/mm value.
Additional Tips
- Belt Tension: Ensure your belts are properly tensioned as loose or overly tight belts can affect movement accuracy.
- Firmware Updates: Always back up your firmware settings before making changes, and keep your firmware updated to the latest version.
- Regular Maintenance: Regularly check for mechanical wear and tear on parts like pulleys, belts, and bearings, as these can affect calibration.
Conclusion
Calibrating the stepper motors of your 3D printer is a vital maintenance task that ensures precise and high-quality prints. By following these steps and regularly checking your printer’s calibration, you can avoid common printing issues and extend the life of your 3D printer. Accurate calibration not only enhances print quality but also boosts your confidence in tackling complex and detailed print jobs.
How To Calibrate Your 3d Printer Stepper Motors – Modern Hobbyist
